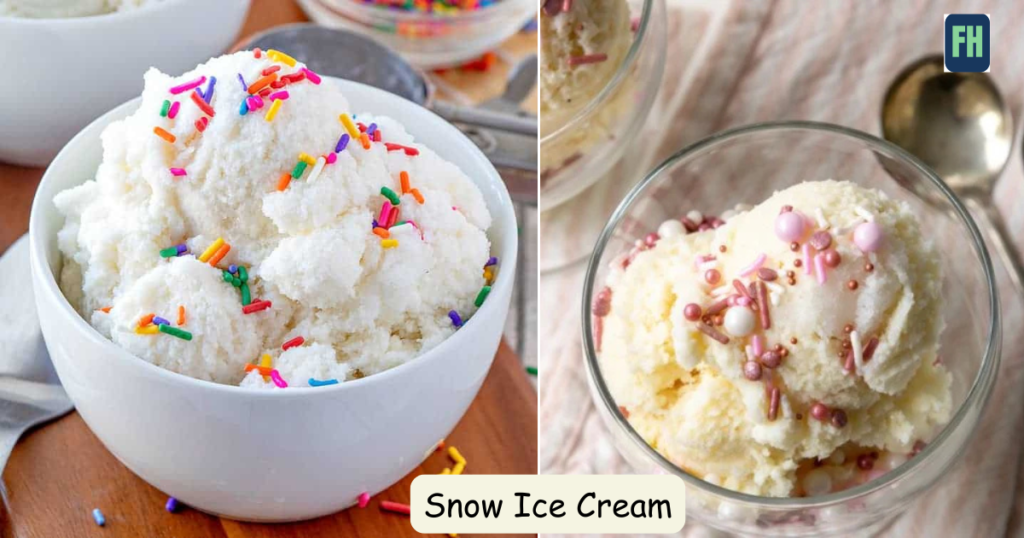
Snow ice cream is a delightful winter tradition that brings joy to both kids and adults. Whether you’re looking for a fun activity on a snow day or a nostalgic treat to share with your family, this simple recipe is sure to impress. With just a few basic ingredients, you can create a creamy, homemade dessert that rivals store-bought ice cream. Let’s dive into how to make snow ice cream and some tips to ensure it tur

Why Snow Ice Cream is Special
Snow ice cream holds a special place in many hearts. For some, it’s a cherished childhood memory of gathering fresh snow and transforming it into a sweet treat. For others, it’s a creative way to embrace the winter season. No matter where you live—whether in a snowy region or a place where snow is a rare occurrence—this recipe is a fun way to celebrate the magic of winter.
Ingredients for Snow Ice Cream
The beauty of snow ice cream lies in its simplicity. Here’s what you’ll need:
- Fresh Snow: 8 cups (clean and untouched by footprints or debris).
- Milk: Whole milk, evaporated milk, or sweetened condensed milk for extra creaminess.
- Sweetener: Granulated sugar or the natural sweetness from sweetened condensed milk.
- Vanilla Extract: 1 teaspoon for that classic homemade ice cream flavor.
- Optional Add-Ins: Sprinkles, chocolate syrup, whipped cream, or fresh fruit
Step-by-Step Instructions
- Prepare Your Ingredients: Gather all your ingredients and supplies before collecting the snow. This ensures everything stays cold and the snow doesn’t melt too quickly.
- Collect Fresh Snow: Place a large, clean bowl outside to catch fresh snow during a snowfall. Avoid snow that’s been stepped on or is discolored.
- Mix the Base: In a separate bowl, whisk together 1 cup of milk, 1/3 cup of sugar (if using regular milk), and 1 teaspoon of vanilla extract. If using sweetened condensed milk, skip the sugar and mix it directly with the vanilla.
- Combine Snow and Mixture: Pour the milk mixture over 8 cups of snow in a large bowl. Stir gently until the mixture reaches a creamy, ice cream-like consistency. Add more snow if needed to thicken it.
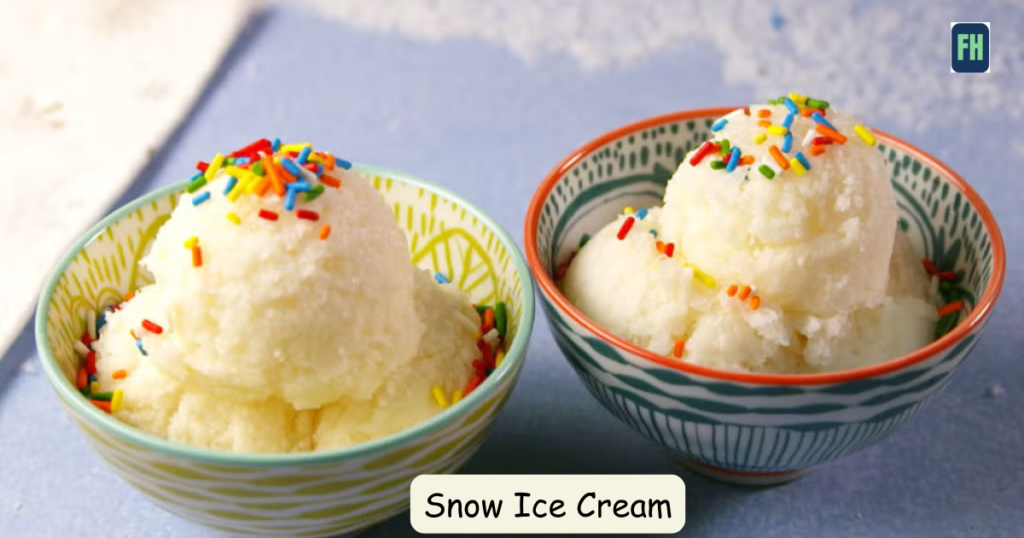
- Serve Immediately: Scoop into bowls and add your favorite toppings. Enjoy right away for the best texture and flavor!

Tips for Perfect Snow Ice Cream
- Use Clean Snow: Always collect fresh, clean snow from an untouched area. Avoid snow that’s been on the ground for too long.
- Adjust Consistency: The texture of the snow will affect the final product. Fluffy snow requires more milk, while dense snow may need less.
- Keep It Cold: Chill your milk and mixing bowls beforehand to keep the snow from melting too quickly.
- Experiment with Flavors: Try mint extract, cocoa powder, or even a splash of maple syrup for a unique twist.
Read More👉- Lobster Tail Recipe – Restaurant-Style Luxury at Home!
Frequently Asked Questions
Can I use shaved ice instead of snow?
Yes, shaved ice is a great alternative if fresh snow isn’t available.
How long does snow ice cream last?
It’s best enjoyed immediately, but you can store it in a freezer-safe container for up to a week. Note that it may become icy over time.
Can I make it dairy-free?
Absolutely! Use sweetened condensed coconut milk or a dairy-free milk alternative.
Conclusion
Snow ice cream is more than just a dessert—it’s a fun, family-friendly activity that creates lasting memories. With just a few simple ingredients and a bit of creativity, you can turn a snowy day into a sweet celebration. So, the next time the snow falls, grab a bowl, head outside, and whip up this easy and delicious treat. Your family will thank you!
1 thought on “How to Make Snow Ice Cream: A Fun and Easy Winter Treat”